Set up your team
Bring your colleagues into CampusMind, and control who can see which documents.
The setup an institution does once: who can get in, what each of them can administer, and which documents they can see.
Where the settings live
Everything on this page is under the gear icon at the bottom of the left sidebar, which opens Settings. Two of its tabs cover the setup here: Group Management and User Management.
Roles
A role decides what a person can administer — it never changes which documents someone can see. That comes from groups, covered below.
| Role | Documents and batches | People and groups | Tenant settings and analytics |
|---|---|---|---|
| Users | Upload documents, run remediation, and edit tags and captions, on the batches shared with their groups. | No administration. | No administration. |
| Department Admin | Everything a User can do. | Manage the people and groups in their own department. | No administration. |
| Admin | Everything a Department Admin can do, across the whole institution. | Manage every user and group in the tenant. | Configure Connectors, and open the tenant-wide analytics dashboard, which can be scoped to one person, one group, or a date range. |
Roles are not an approval hierarchy
A more senior role does not gate a document's release — CampusMind has no sign-off action. Roles decide what a person can administer, not whose work counts as final. See What a person decides.
Invite a colleague
Open User Management and choose Invite User. The dialog asks for an email address and a role, and both are required.
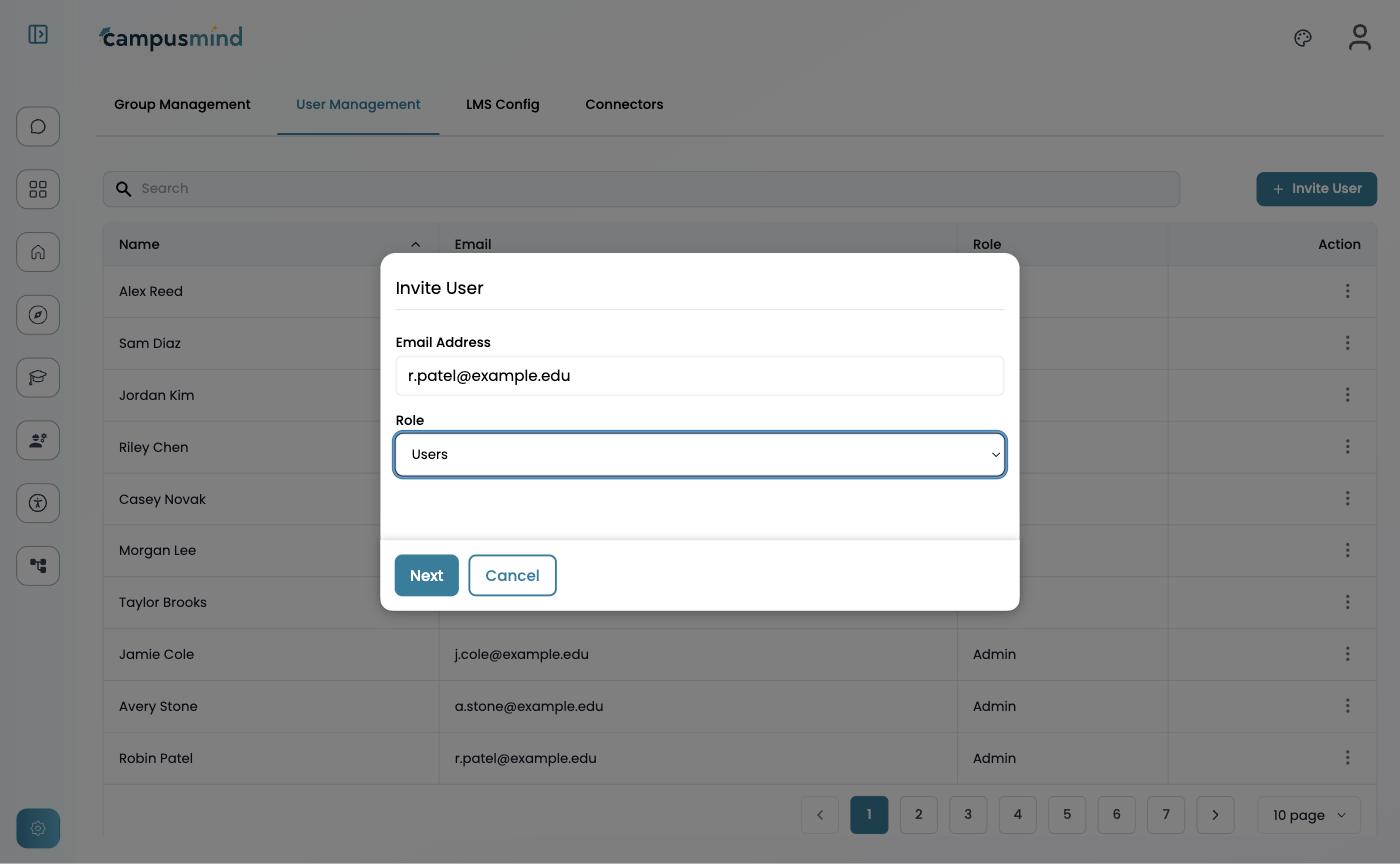
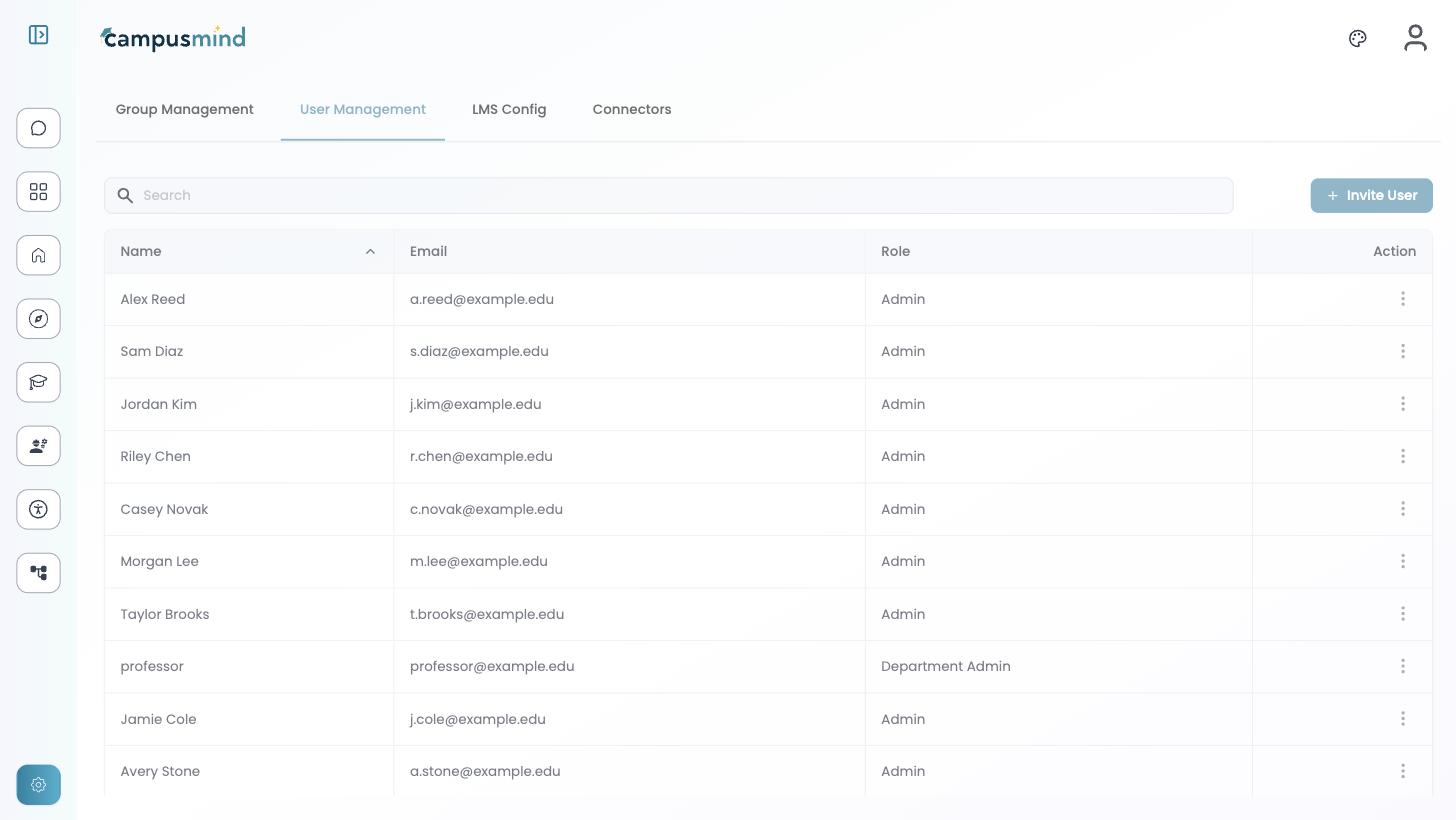
Fill in both, then choose Next. Everyone already in the tenant is listed on the same tab, so check there first to avoid inviting someone twice.
See who is already here
Groups
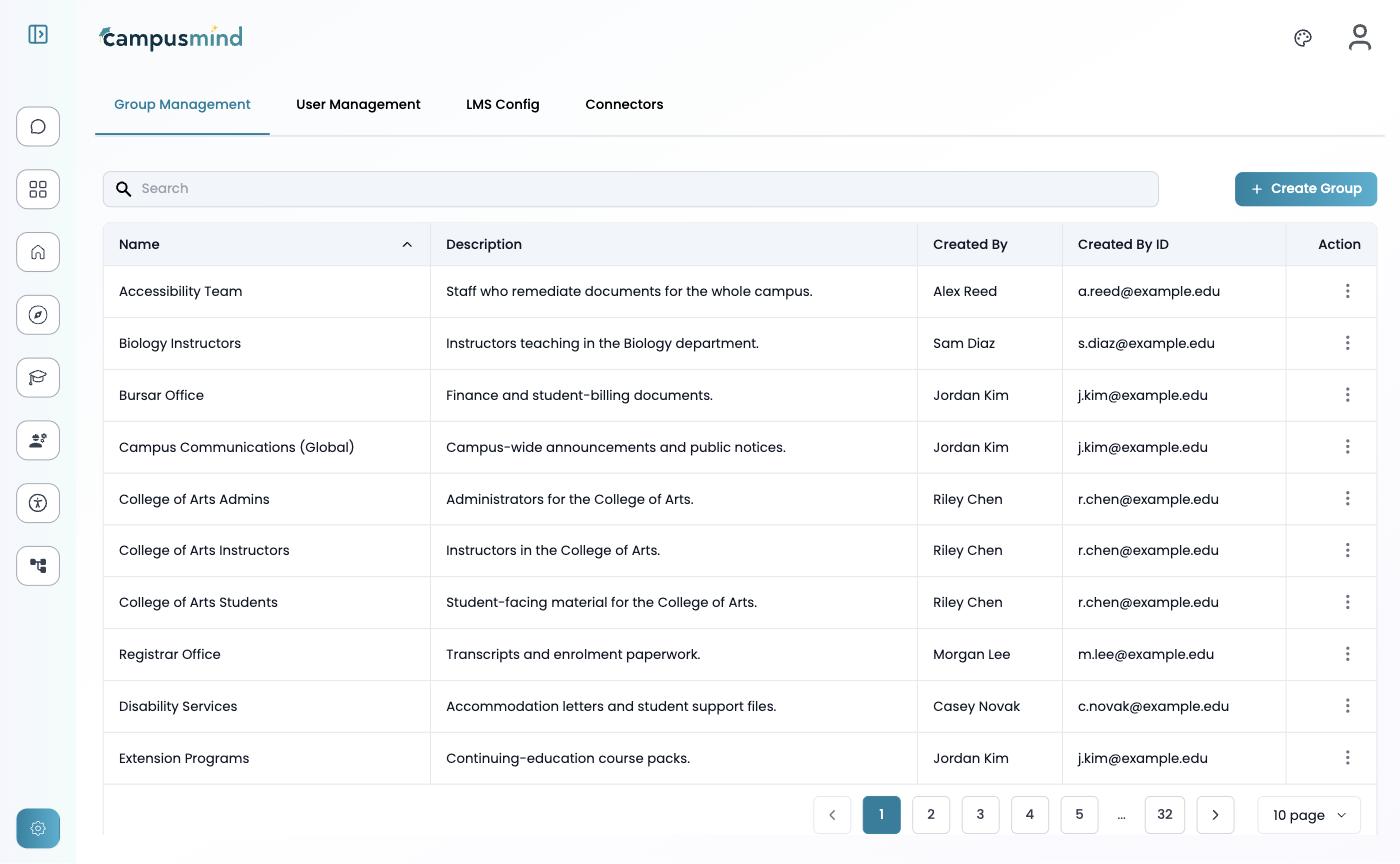
Document access is scoped by group: a set of people a batch can be shared with. A person sees the batches and documents belonging to their groups.
Decide your groups before you invite people in bulk, because a batch is shared at the point it's created and cannot be re-shared afterwards.
Create a group
Choose Create Group on the Group Management tab. It's a two-step dialog.

| Step | What it asks for |
|---|---|
| Basic Step | Name, description, and a Group Type of Other (the default) or Department. Group names have a minimum length, so a very short name is rejected when you save. |
| Add Members | Everyone in the tenant, with a search box matching on name, email or role. Tick the people who belong, then choose Create Group. |
Tenant settings
Connector permissions are set once for the whole institution by an Admin, on the Connectors tab. Your LMS and SharePoint integrations are not configured here — CampusMind arranges those with your technical team during onboarding, and each person then authorizes their own account when they connect a source.
Single sign-on is set up separately
CampusMind can sign people in with your institution's Entra ID. CampusMind sets that up during onboarding and your IT team maintains it from then on — it isn't a setting on this page. Once it's live, colleagues ask IT for access rather than waiting on an invitation, and leavers are handled in your directory; you still put people in the right groups here. Without SSO, accounts are created in the product and your joiner and leaver process has to include CampusMind explicitly. See Security & data handling.